The communication between Kerio Connect and MS Entourage can be protected by the standard SSL encryption protocol. It is possible to secure communication via the WebDAV interface as well as requests and responses between MS Entourage and the LDAP server built in Kerio Connect. Settings differ for each version of MS Entourage. Here you can find description of both alternatives:
Settings of WebDAV in MS Entourage are as follows:
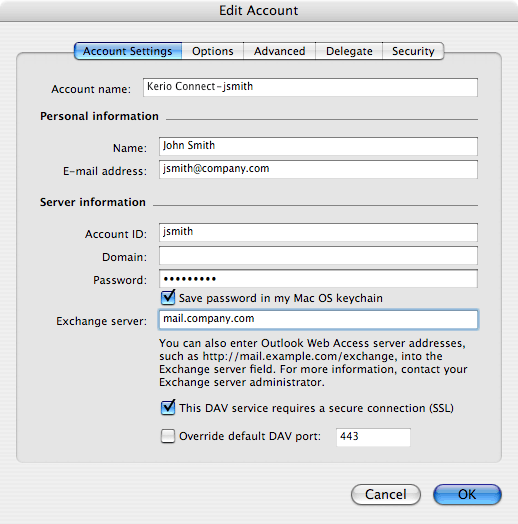
On the Account Settings tab in , enable the DAV service requires secure connection (SSL) option (see figure 8.17 Setting the secure WebDAV).
If the HTTPS service in Kerio Connect is running on another port than ste standard port 443, it is necessary to enable the Override default DAV port option and change the port by hand.
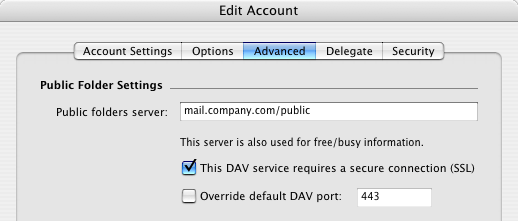
Connection to the Free/Busy server built in Kerio Connect can also be SSL-secured. The connection between a client and the Free/Busy server is handled via the WebDAV interface. Therefore, the traffic can be secured by setting of the secure version of the DAV protocol. To set this, go to the Advanced tab under and enable the This DAV service requires a secure connection (SSL) option.
Note
Note: Enabling the This DAV service requires a secure connection (SSL) option also changes the standard port for HTTP service to the HTTPS port. Generally, it is therefore not necessary to change the port by hand.
Setting of LDAPS in MS Entourage is also very simple:
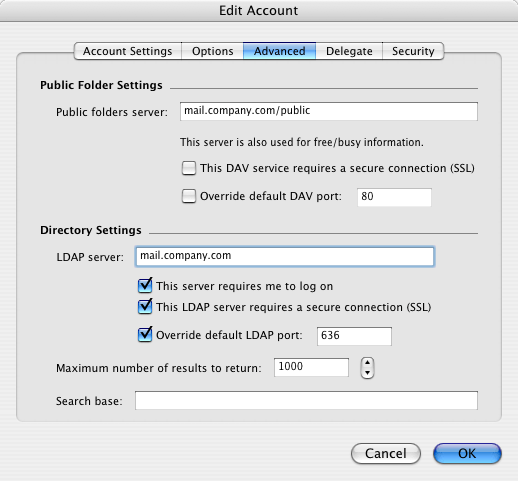
On the Advanced tab in , enable the This LDAP server requires a secure connection (SSL) option.
It is also necessary to enable the Override default LDAP port option and overwrite the port number to the port where the LDAPS in Kerio Connect is running (standard port for LDAPS is port 636).
This chapter describes the situation where Kerio Connect uses a self-signed certificate and a user tries to connect to it via SSL (DAVS and LDAPS in MS Entourage).
The security system of MacOS X does not trust certificates which are not signed by a trustworthy certification authority (so called self-signed certificates). Kerio Connect uses the self-signed certificate by default. To make Mac OS X systems accept the Kerio Connect's self-signed certificate, do the following:
Run Safari and specify the corresponding URL to login to Kerio WebMail. SSL-secured protocol must be used for the connection to the server. This implies that the URL should start with
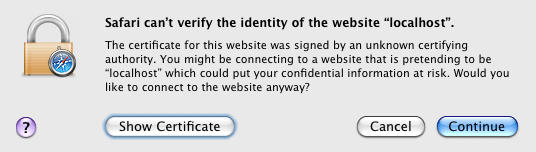
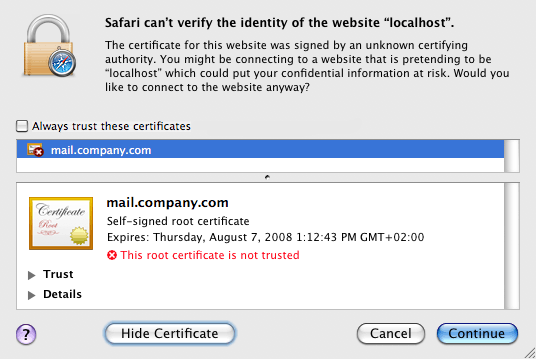
https://(example:https://mail.company.com/).Before the Kerio WebMail's login page is opened, an alert is displayed informing that the system is not able to authorize the server to which you are connecting since the certificate is authorized by an unknown authority (see figure 8.20 Alert on an untrustworthy certificate).
The alert dialog contains the button. Click on it to show the certificate (see figure 8.21 Certificate Details).
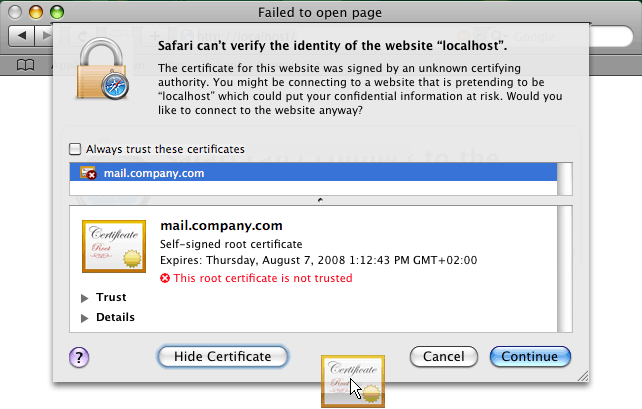
Use the mouse pointer to move the certificate's icon to the desktop, as shown at figure 8.22 Moving the certificate to the desktop.
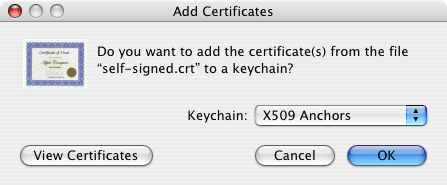
Now the Mac OS X version plays role. For Mac OS X 10.3 Panther and Mac OS X 10.4, apply the following procedure:
On the desktop, click on the certificate. In the Add Certificates dialog box (see figure 8.23 The Add Certificates dialog box), select the X509Anchors store type in the Keychain menu. The X509Anchors store includes saved certificates which can sign and thus make trustworthy other certificates. It also stores all trustworthy certificates.[6]
Administration password is required if you are not logged in as a root user or as an administrator.
Along with the Add Certificates dialog, the Keychain Access store is opened. If not, it can be found in .
In the Keychain Access application, switch to the Certificates tab.
Check that the certificate has appeared in the certificate list.
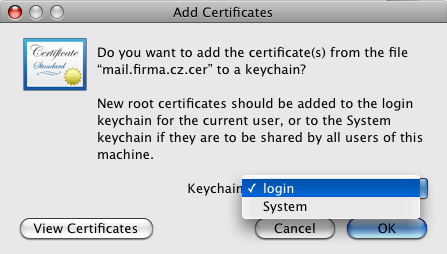
For Mac OS X 10.5 Leopard, follow these instructions:
On the desktop, click on the certificate. In the Add Certificates window (see figure 8.24 The Add Certificates dialog box), select the System option in the Keychain menu (all system users will be allowed to use the certificate) or Login (only authenticated users will be allowed to use the certificate). Click OK to confirm changes.
The Keychain Access application is started, asking for confirmation that you really want to install the certificate. Confirm the dialog by entering username and password for an account with administration rights.
[6] Certificates work only if they are in the X509 format, encoded by Base64. If a certificate does not meet these conditions, it is possible to convert it by a special application, Microsoft Cert Manager. This application can be found under . However, in this case usage of the application would be irrelevant. Kerio Connect creates certificates in the X509 format, encoded by Base64.