In any space, click the link to create a new page.
Enter its name and select the layout.
A new page is opened (see figure 4.4 New page — context menu).
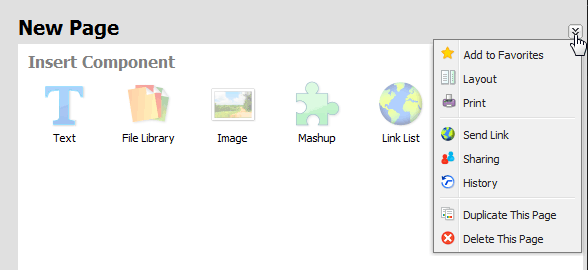
You can configure the following appearance of a page (in the context menu):
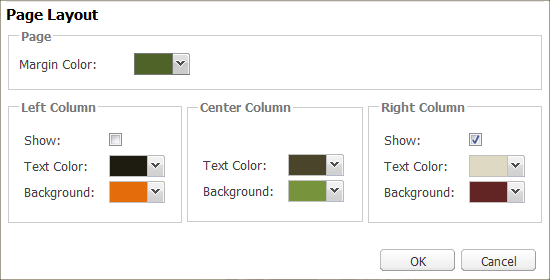
page border color
page layout (number and width of columns)
color of each part of the page
color of the font of each part of the page
Note
In the Margin Color menu, choose the color of the border which will define the page and individual columns and components. The width and other parameters are set by default and cannot be changed.
If you create more page columns, you can change their width by dragging their margin.
You can also create a page by duplicating an existing one. Thus, you can create a template with text or duplicate it with all the files.
In the page context menu (figure 4.4 New page — context menu), click on Duplicate This Page.
Enter its name and select a space where the page will be created.
Decide whether you want to duplicate the page with or without the files.
Now you know how to create a page and you must learn how to insert text, images or files. That is what components are for.
If the document is empty, icons for inserting particular components are displayed (see picture 4.4 New page — context menu), If the page contains at least one component, it is necessary to point the cursor to the upper corner of the area into which you want to insert another component. The insert component option is displayed which opens the menu with components to insert (figure 4.6 Insert component options).
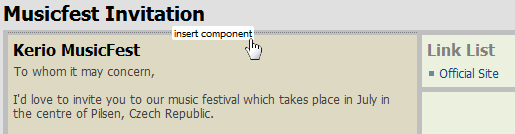
The inserted component appears in the appropriate place on the page.
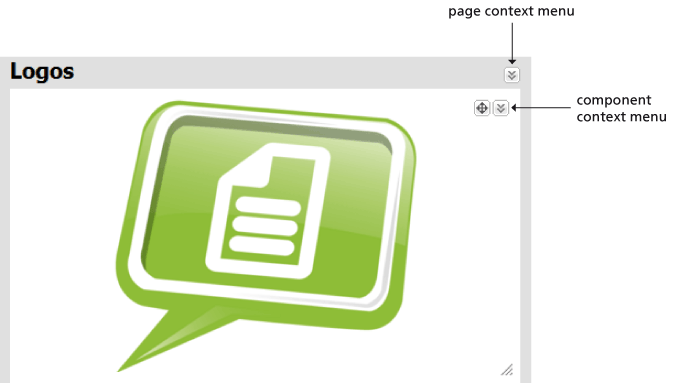
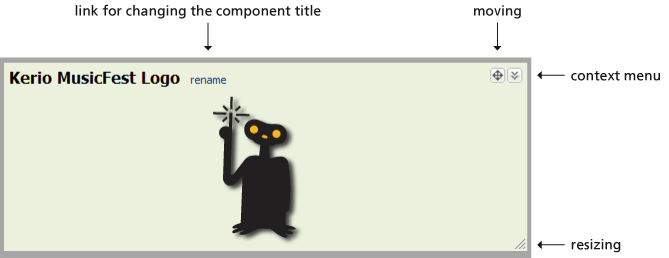
The following options are available when you hover the cursor over any component (see figure 4.8 Component controls):
link for changing the component name
button for moving the component on the page
context menu — tools for editing the component
Note
Context menus of a component and a page differ (figure 4.7 Icons for page and component context menus).
resize icon
Context menu of each component contains:
Hide/Show Title
Background Color— allows to select the color of the component background. Transparent background can also be set.
Commentary — you can add a commentary to each component.
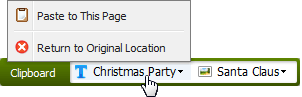
Cut — removes the component from the document and places it into the clipboard. You can insert the component into another page using the Insert option in the page context menu. However, we recommend the graphical clipboard (figure 4.9 Graphical clipboard).
Delete — deletes the component upon confirmation.
More information on menus can be found below in the component sections.
The Text components allows you to insert text to pages and format it.
You may edit the text in a standard way. The text is created and edited in a WYSIWYG editor which supports all common types of HTML format. If you prefer editing in HTML code, click the Edit HTML Source icon to switch to the code view (see figure 4.10 Editing text in the format editor).
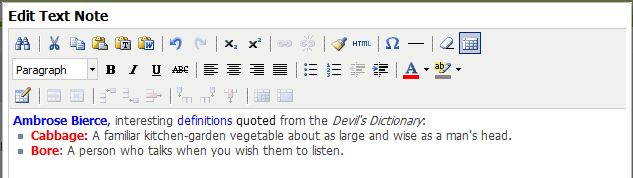
Once you create and save the text component, you can edit it later. Open the context menu and select Edit Text.
The Image components allows you to insert images from your computer to any page.
The icon in the bottom right corner allows you to change the area size; the image adjusts to the window in scale up to its original size.
To replace the image, use the Upload New Image option in the context menu.
If you wish to download the image to your hard drive, select Download Image File in the context menu.
The Video components allows you to insert videos from your computer to any page. Only FLV video files are supported.
Note
If you wish to insert a video from YouTube, use the mashup component.
Use the icon in the bottom right corner to change the window size. The video will conform.
To replace the video, use the Upload New Video option in the context menu.
If you wish to download the video to your hard drive, select Download Video File in the context menu.
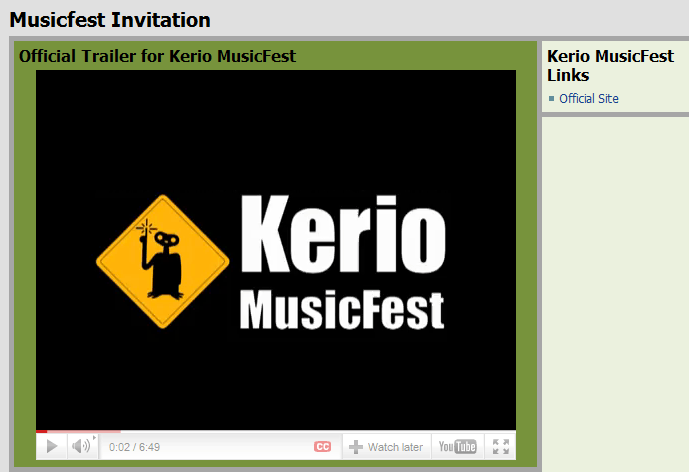
Sometimes it is convenient or necessary to insert external content. It is useful especially for Internet video files.
Mashup is inserted as HTML code. You can acquire the code from the source site. The inserted HTM code is displayed (see figure 4.11 Code of the external content).
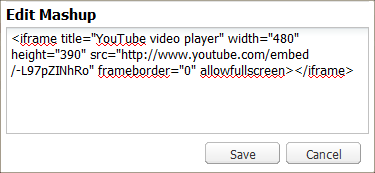
You may change the content by clicking the Change the HTML Code option in the context menu.
And how to insert a video from YouTube to your Workspace?
Find the video you wish to put on Workspace.
Click on .
Copy the code into the mashup component and save it.
Workspace has a special component for adding and managing links. You can add links in the Text component. However, with Link lists, you can add and change links easily.
If you wish to add links, select the option in the context menu.
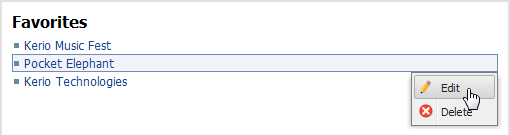
If you wish to delete or edit a link, select the appropriate option (figure 4.13 Edit/Delete link).
Another powerful function of your Workspace is the possibility to upload and share files. You may insert documents and files which are related the particular page.
If you wish to add a new file, select the option in the context menu. You can add or remove files as you wish. When you are satisfied with the selection, start uploading the files.
Note
You can also use the Drag & Drop method, i.e. you drag a file into the upload window and drop it there.
Warning
In the flash uploader in Internet Explorer, the file size cannot exceed 2GB.
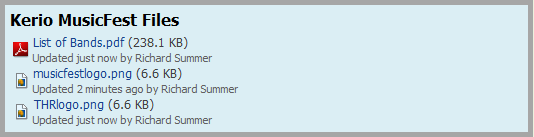
Files can be organized into folders. Folders in Workspace have the same function as folders on your computer — to sort files.
If there are many files in your file library, the sort function may come in handy (figure 4.15 Context menu for the File Library component).
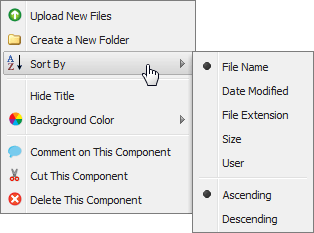
Workspace has tools for work with files and folders. Display the tools by clicking a folder or a file (figure 4.16 Context menu for a file in a File Library).
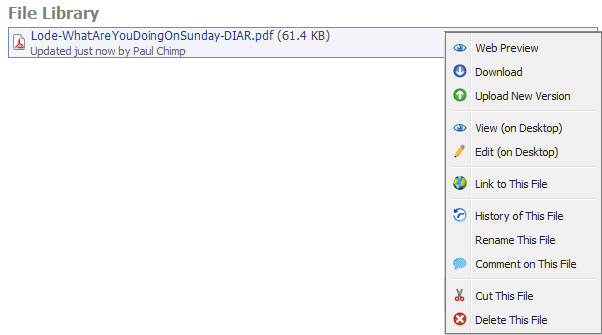
- Web Preview
Files can be preview directly in your browser. The web preview supports the following file types:
TXT and HTML files
MS Office document types: DOC, XLS, PPT, DOCX, XLSX and PPTX
OpenOffice documents
images in JPG, PNG, GIF and TIFF formats
PDF documents
- Download
You can also download files from your Workspace to your computer.
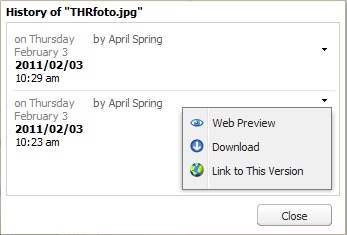
- Upload New Version / History of This File
If a file becomes obsolete, you do not have to delete in immediately. It can be updated by uploading new version. Older versions of the file do not disappear, they are saved in Workspace in case you need them. You can view all version in the file history. You can download any older version and work with it.
- Link to This File
The Link to This File option displays a direct link to the document preview. You can copy the link and insert it to a page in your Workspace or send it via email.
You may view and edit a file with Desktop Client on Windows and Mac OS X operating systems. It enables you to open the files in programs on your computer associated with the particular file types. For detailed information, see chapter 6 Desktop Client.